
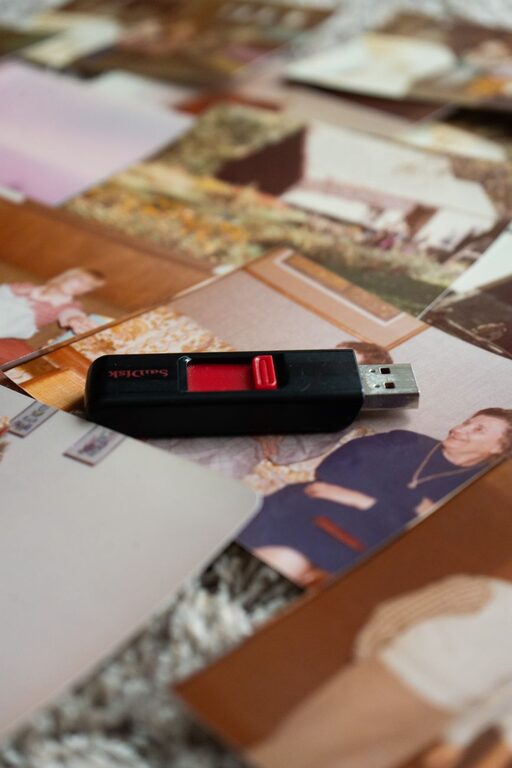
Digital photos make it easy to capture everyday moments, celebrations, vacations, and milestones. However, the convenience of taking hundreds of pictures can quickly lead to a crowded phone, scattered files, and forgotten memories.
Organizing your photo collection does not require advanced technical skills or a perfect system. With a few consistent habits, you can create a manageable library that is easy to search, back up, and share. The key is to start small, use clear categories, and choose tools you are likely to use regularly.
Start With a Simple Goal
Before moving files or creating folders, decide what you want your photo system to accomplish. Most people need to solve a few common problems:
– Find important photos quickly
– Remove duplicates and unwanted images
– Keep memories safe if a device is lost or damaged
– Share selected albums with family
– Make printed books, calendars, or gifts
– Preserve older photos for future generations
Your system should support your daily habits. A complicated setup may look organized at first but become difficult to maintain. Aim for a process that takes only a few minutes each week or month.
Gather Photos From Every Source
Family photos often live in several places at once. Start by making a list of the devices and services that contain images, such as:
– Smartphones and tablets
– Digital cameras and memory cards
– Computers and external drives
– Email attachments
– Messaging apps
– Social media accounts
– Cloud storage services
– Scanned prints and documents
Do not try to organize everything at the same time. Begin with one source, such as your main phone, and complete that collection before moving to another. This helps you understand your preferences and prevents confusion.
Create one temporary folder called “Photo Inbox” or “To Organize.” Copy photos from different sources into this location before sorting them. Keep the original files until you are certain that the transfer was successful.
Remove Unwanted Photos First
Sorting is easier when you reduce the number of files before creating albums. Look for:
– Blurry images
– Accidental pictures of the floor or a pocket
– Repeated shots
– Screenshots you no longer need
– Outdated reference images
– Photos with poor lighting that do not hold personal value
When reviewing similar images, keep the one that best shows the people, setting, or emotion. You do not need to delete every imperfect photo. A slightly blurry picture may still be meaningful if it captures an important family moment.
If you are unsure about an image, move it to a temporary folder named “Review Later.” Set a reminder to check this folder in a few months. If you have not needed those photos by then, you may feel more comfortable removing them.
Choose a Consistent Folder Structure
A folder system should be predictable. One of the easiest approaches is to organize photos by year and month:
– 2024
– 2024 01 January
– 2024 02 February
– 2024 03 March
– 2025
– 2025 01 January
– 2025 02 February
You can also add event names when they are useful:
– 2025 06 June – Smith Family Reunion
– 2025 12 December – Holiday Gathering
Use the same format every time. Including the year first keeps folders in chronological order. Avoid vague names such as “New Photos” or “Miscellaneous,” which become difficult to search later.
For large collections, consider separate top-level folders for “Family,” “Travel,” “School,” “Pets,” and “Projects.” Keep the number of categories limited so you do not spend more time deciding where a photo belongs than enjoying it.
Use Albums and Keywords Carefully
Folders are useful for storing files, while albums are helpful for viewing and sharing them. A single photo can belong to several albums without being copied into multiple folders.
For example, a picture from a beach trip could be included in:
– Summer Vacation
– 2025 Highlights
– Family Favorites
– Photos of Emma
If your photo app supports keywords or tags, use a small set of consistent terms. You might tag people, places, or occasions. Avoid creating dozens of tags that you will forget to use.
Add important details to photos when possible. A short caption can make a major difference years later. Include information such as:
– Who is pictured
– Where the photo was taken
– The occasion
– The approximate date
– A memorable detail
For older family photos, write down what you know even if the information is incomplete. Notes such as “possibly taken at Grandma’s house around 1978” are more useful than leaving the image unidentified.
Create a Reliable Backup Plan
A photo collection should not depend on one phone, computer, or drive. Devices can fail, be lost, or become damaged. A backup plan gives you another way to recover your memories.
A practical approach is to keep at least three copies of important photos:
- The main collection on your computer or primary device
- A second copy on an external drive
- An additional copy in a trusted cloud storage service or another secure location
The copies should not all be kept in the same place. If a problem affects your home or primary device, a separate copy can help protect the collection.
Check your backups occasionally. Open a few files from each backup to confirm that they work. Replace older drives when necessary, and make sure automatic backup services are still active after changing phones, computers, or account settings.
Make a Monthly Maintenance Routine
Photo organization becomes much easier when it is part of a regular routine. Once a month, set aside 15 to 30 minutes to:
– Transfer new photos from your phone
– Delete obvious duplicates and mistakes
– Add dates, names, or captions
– Place photos in the correct folders or albums
– Confirm that the latest backup has completed
You can also create a yearly “Best Of” album. Choose a small selection of meaningful images instead of trying to include everything. These highlights can become the foundation for a printed photo book or a family slideshow.
Preserve Printed Photos and Older Media
Printed photographs, slides, and home videos may need special attention. Handle prints with clean, dry hands and store them in cool, dry conditions away from direct sunlight. Use archival-quality sleeves or boxes when possible.
When scanning photos, choose a clear resolution and save a master copy before making smaller versions for sharing. Name scanned files with useful details, such as:
`1979 06 Family Picnic`
Old memory cards, CDs, and DVDs may also contain valuable files. Transfer them to a current computer or storage device before the original media becomes difficult to read. Keep the original items until you have checked the transferred files.
Share Memories Thoughtfully
Organizing photos is not only about storage. It is also about making memories accessible to the people who care about them.
Create shared albums for specific events rather than giving others access to your entire library. Add a short description and invite family members to contribute their own photos. Before sharing, review images for private information, accidental screenshots, or pictures that others may not want distributed.
For older relatives, printed albums or simple digital slideshows may be easier to enjoy than a large online collection. Consider asking family members which memories matter most to them. Their answers can help you identify photos that deserve special captions, prints, or preservation.
Keep the System Simple
The best photo organization system is one you can maintain. You do not need perfect filenames, expensive software, or a highly detailed catalog. Start with the basics:
– One main photo library
– Clear year and event folders
– Regular deletion of unwanted images
– A dependable backup routine
– Captions for important memories
– A monthly review
Over time, these small habits will turn a crowded collection into a useful family archive. More importantly, they will make it easier to find the moments that matter, share them with loved ones, and preserve them for years to come.
About the Author